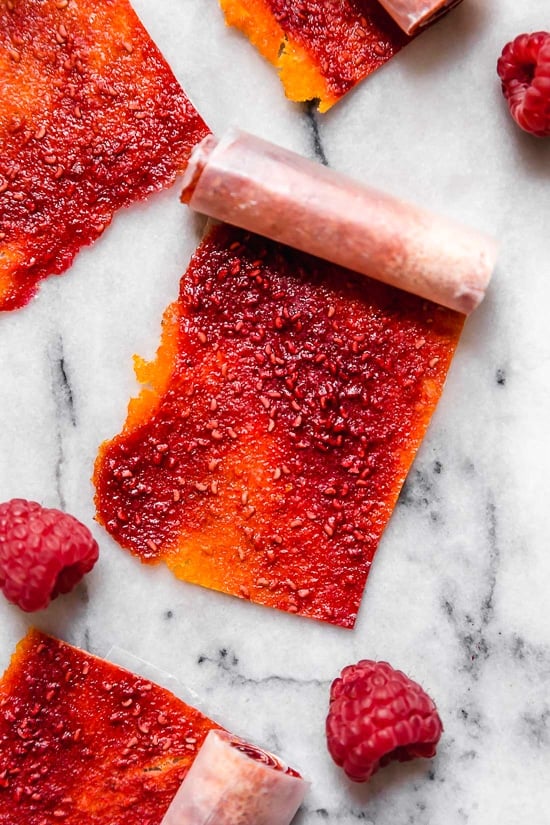
Homemade Mango-Raspberry Fruit Roll Ups, so much healthier than the store-bought kind, and with much less added sugar.
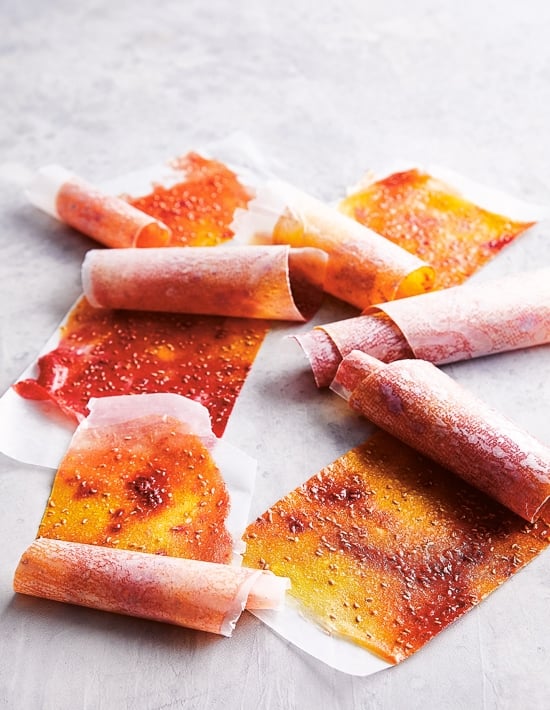
Mango-Raspberry Fruit Roll Ups
Homemade fruit roll-ups are the perfect school snack for the kiddos (adults love them too!). Making them from scratch is easy, and inexpensive to do yourself.
What I love about this recipe is that you can experiment adding as much or as little sugar as you desire. You can also try this with different fruit. Strawberry or blackberries would be delish.
This recipe is from the cookbook Sunny-Side Up (Amazon Affil). For the breakfast lovers out there, this book is for you! A cookbook with more than 100 breakfast and brunch recipes.
I decided to make the fruit leather recipe in the book instead of a breakfast recipe, because it’s back-to-school season and the timing is perfect to tuck them into the kids’ snack bags.
How To Make Fruit Roll Ups
Making these roll ups from scratch is so easy. This recipe uses only 3 ingredients. The prep time is short, simply puree the fruit with a little sugar, pour it over parchment. Then you let it bake in a 150F degree oven until the fruit leather is tacky but not too sticky or wet, about 2 1/2 to 3 hours.
More Snack Recipes
Mango-Raspberry Fruit Roll Ups
Ingredients
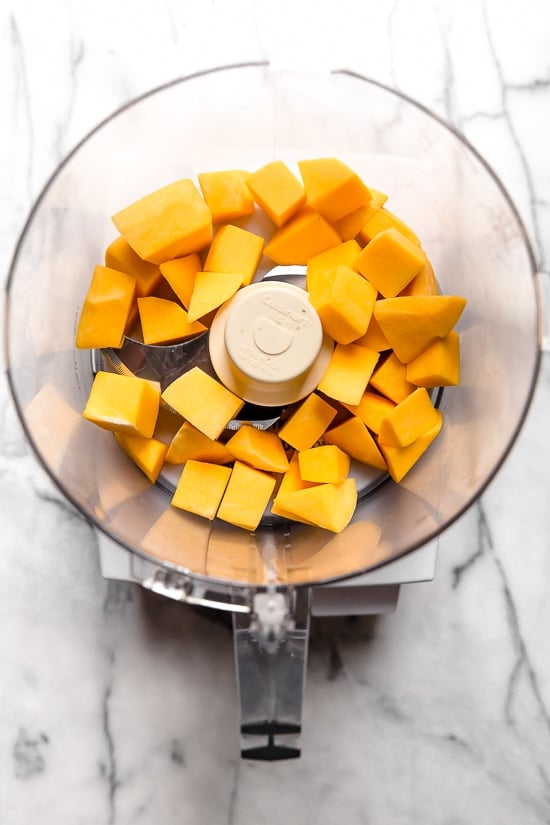
- 1 large ripe mango, peeled and chopped
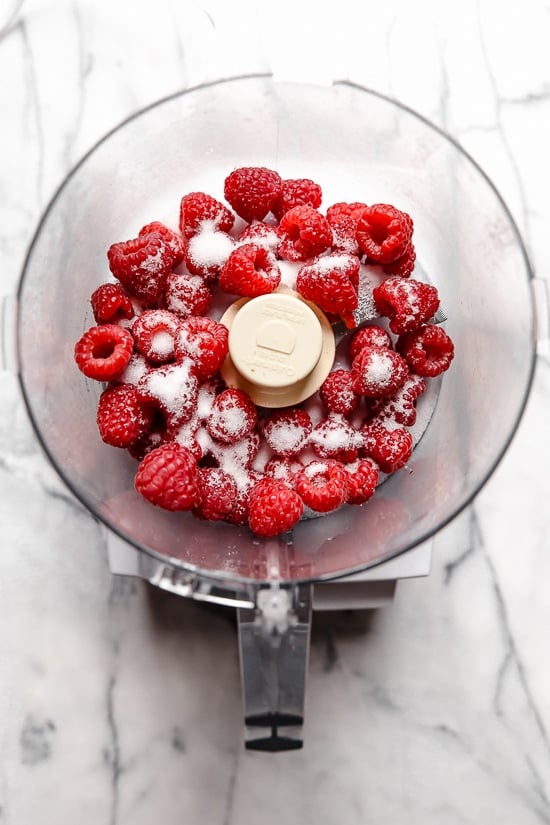
- 6 ounces fresh raspberries
- 2 tablespoons sugar
Instructions
- Preheat the oven to 150ºF. Line a rimmed 12½ by 17¼-inch (half- sheetpan with a silicone baking mat.
- In a blender or food processor, blend the mango until smooth. Transfer the mango to a bowl and set it aside. Add the raspberries and sugar to the blender and blend until smooth. (It is important to blend the raspberries with the sugar, as the sugar helps liquefy the berries.)
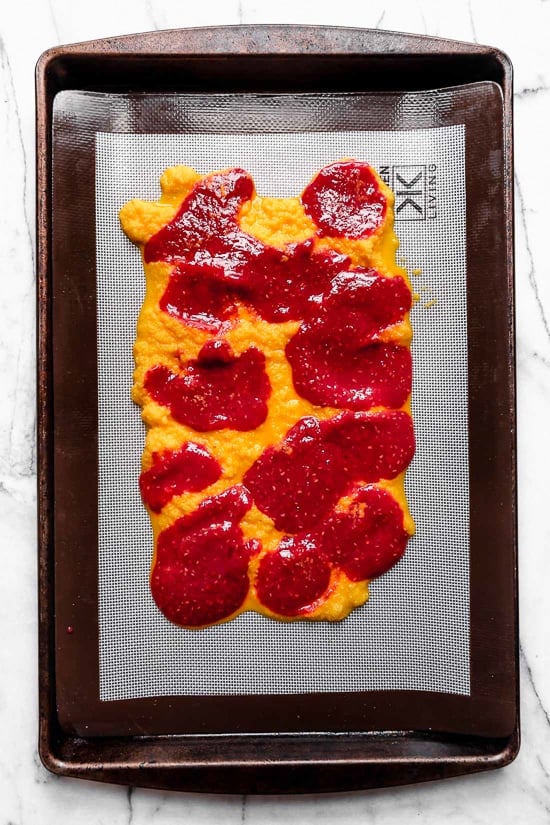
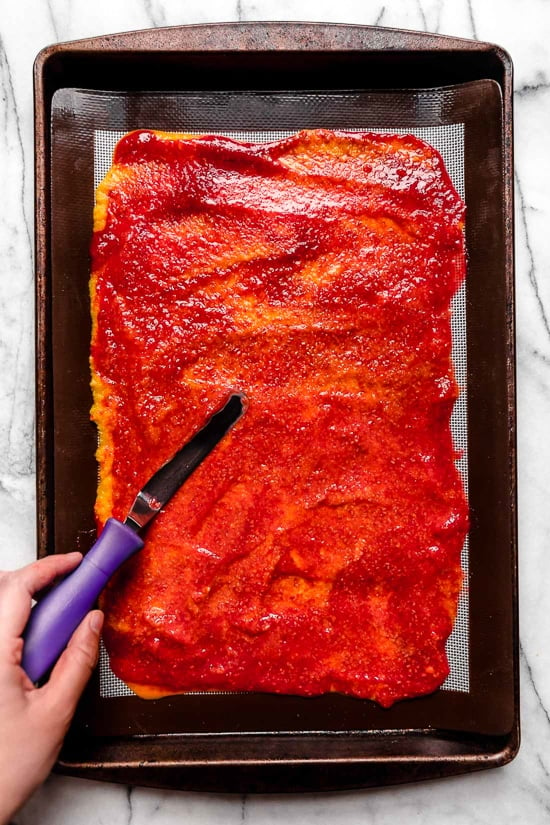
- Place dollops of the mango and raspberry purées on the prepared pan. With a small offset spatula, spread the purées evenly over the pan—try to spread them as evenly as possible, not too thin and not too thick, and try not to spread them to the very edges, so you’ll have room to grab the fruit leather and peel it off the mat when it’s cool.
- Bake for 2 hours 30 minutes to 3 hours, rotating the baking sheet every hour. The leather is done when it is still tacky but not too sticky or wet. Let the leather cool.
- Remove it from the mat and place it on top of a sheet of wax paper. Cut the leather and wax paper into strips with scissors and roll them up paper-side out, then store them in a sealed container at room temperature for up to 1 week.
Last Step:
Please leave a rating and comment letting us know how you liked this recipe! This helps our business to thrive and continue providing free, high-quality recipes for you.Notes
Nutrition
Photo credit: Jess Larson

